When we first built Snapshots, the core idea was to reduce the complexity around snapshot testing. We didn’t want developers worrying about:
- Writing tests
- Managing infrastructure (LFS, simulators/emulators, sharding, etc.)
- Maintaining goldens
- Diffing & reviewing images
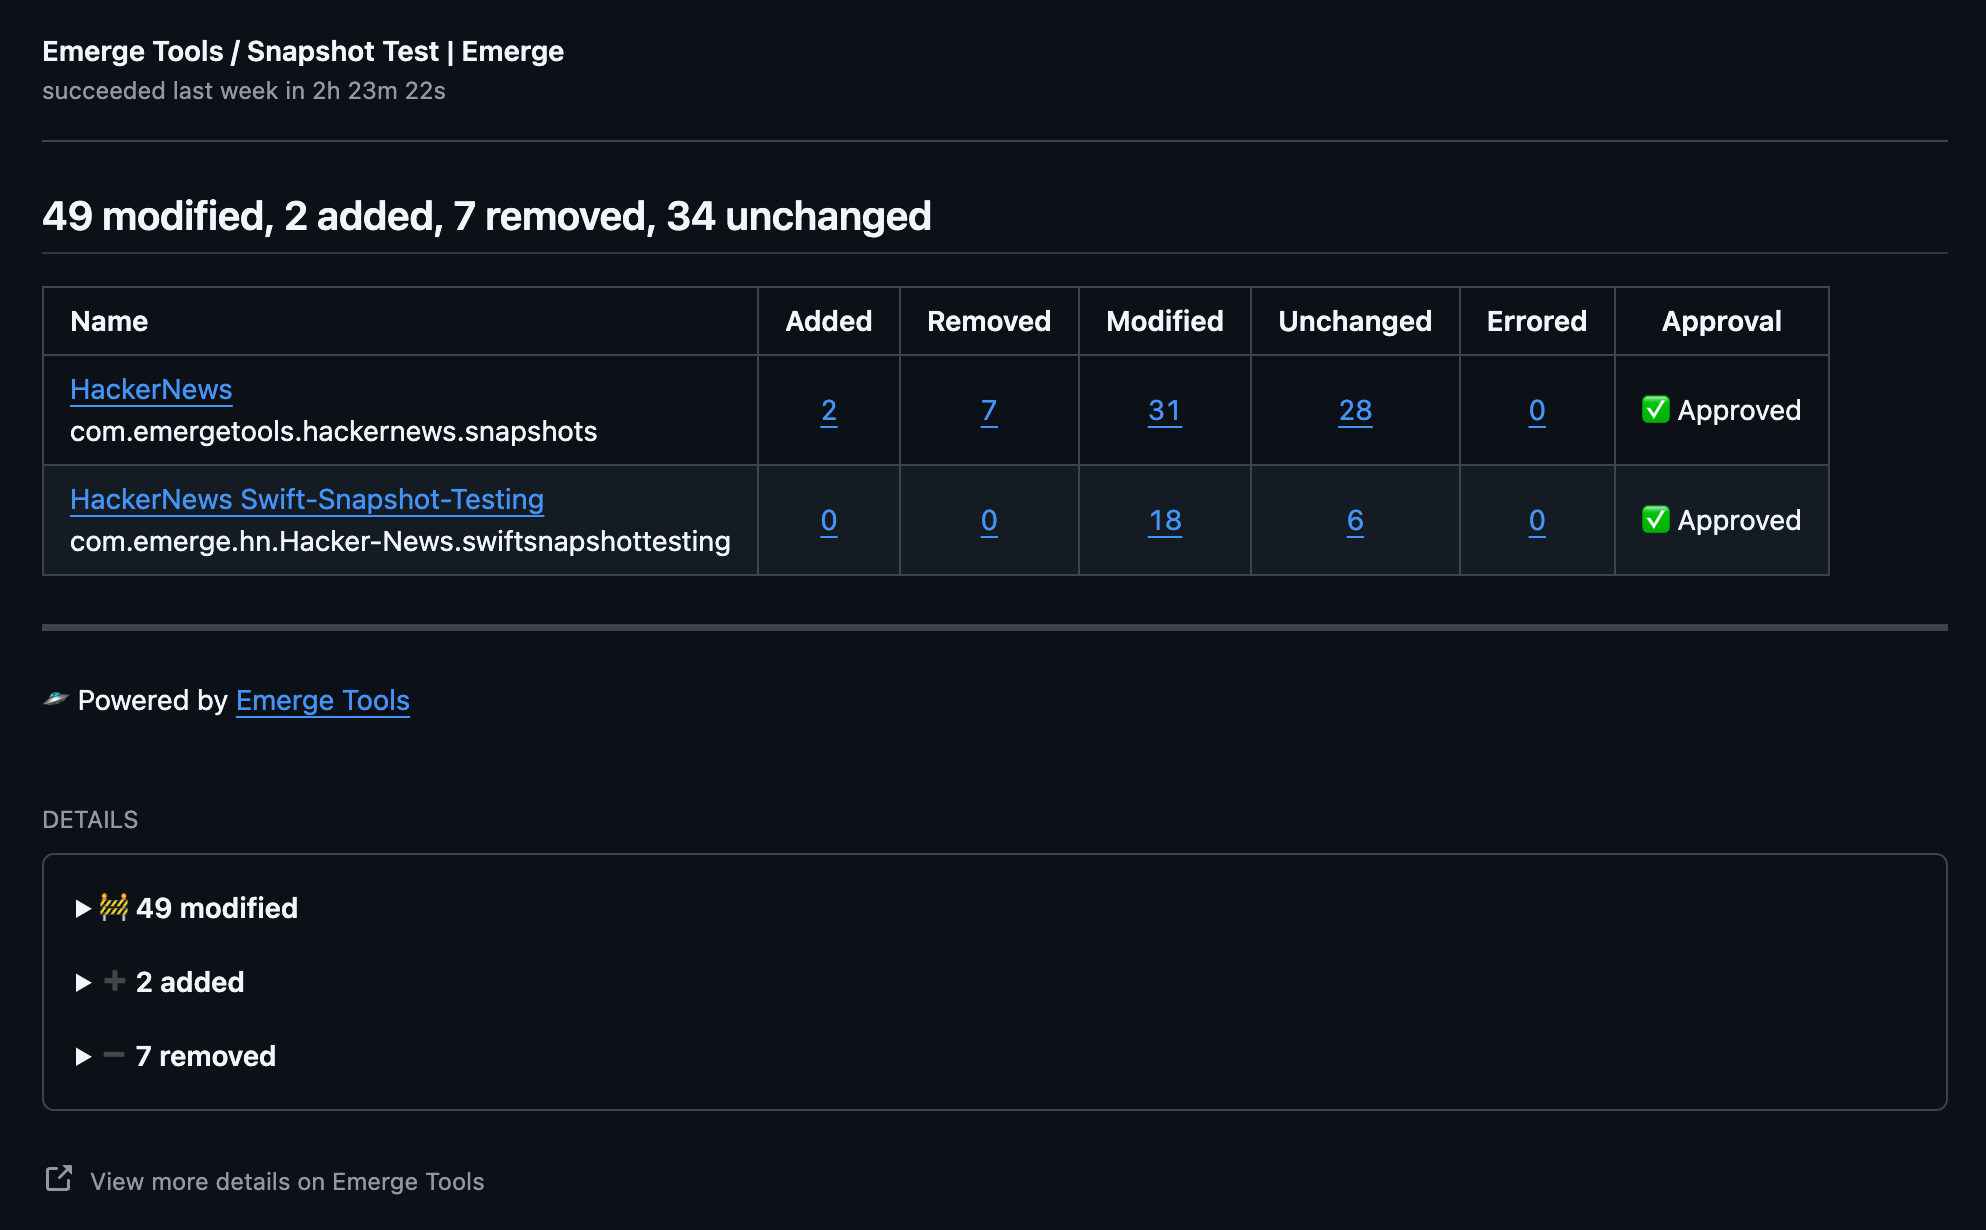
Emerge’s Snapshots uses Previews (Xcode and Compose) to generate images so developers don’t have to write tests. Image storage and diffing is based on git shas. Everything can be reviewed through out-of-the-box PR comments, status checks, and Emerge's UI.
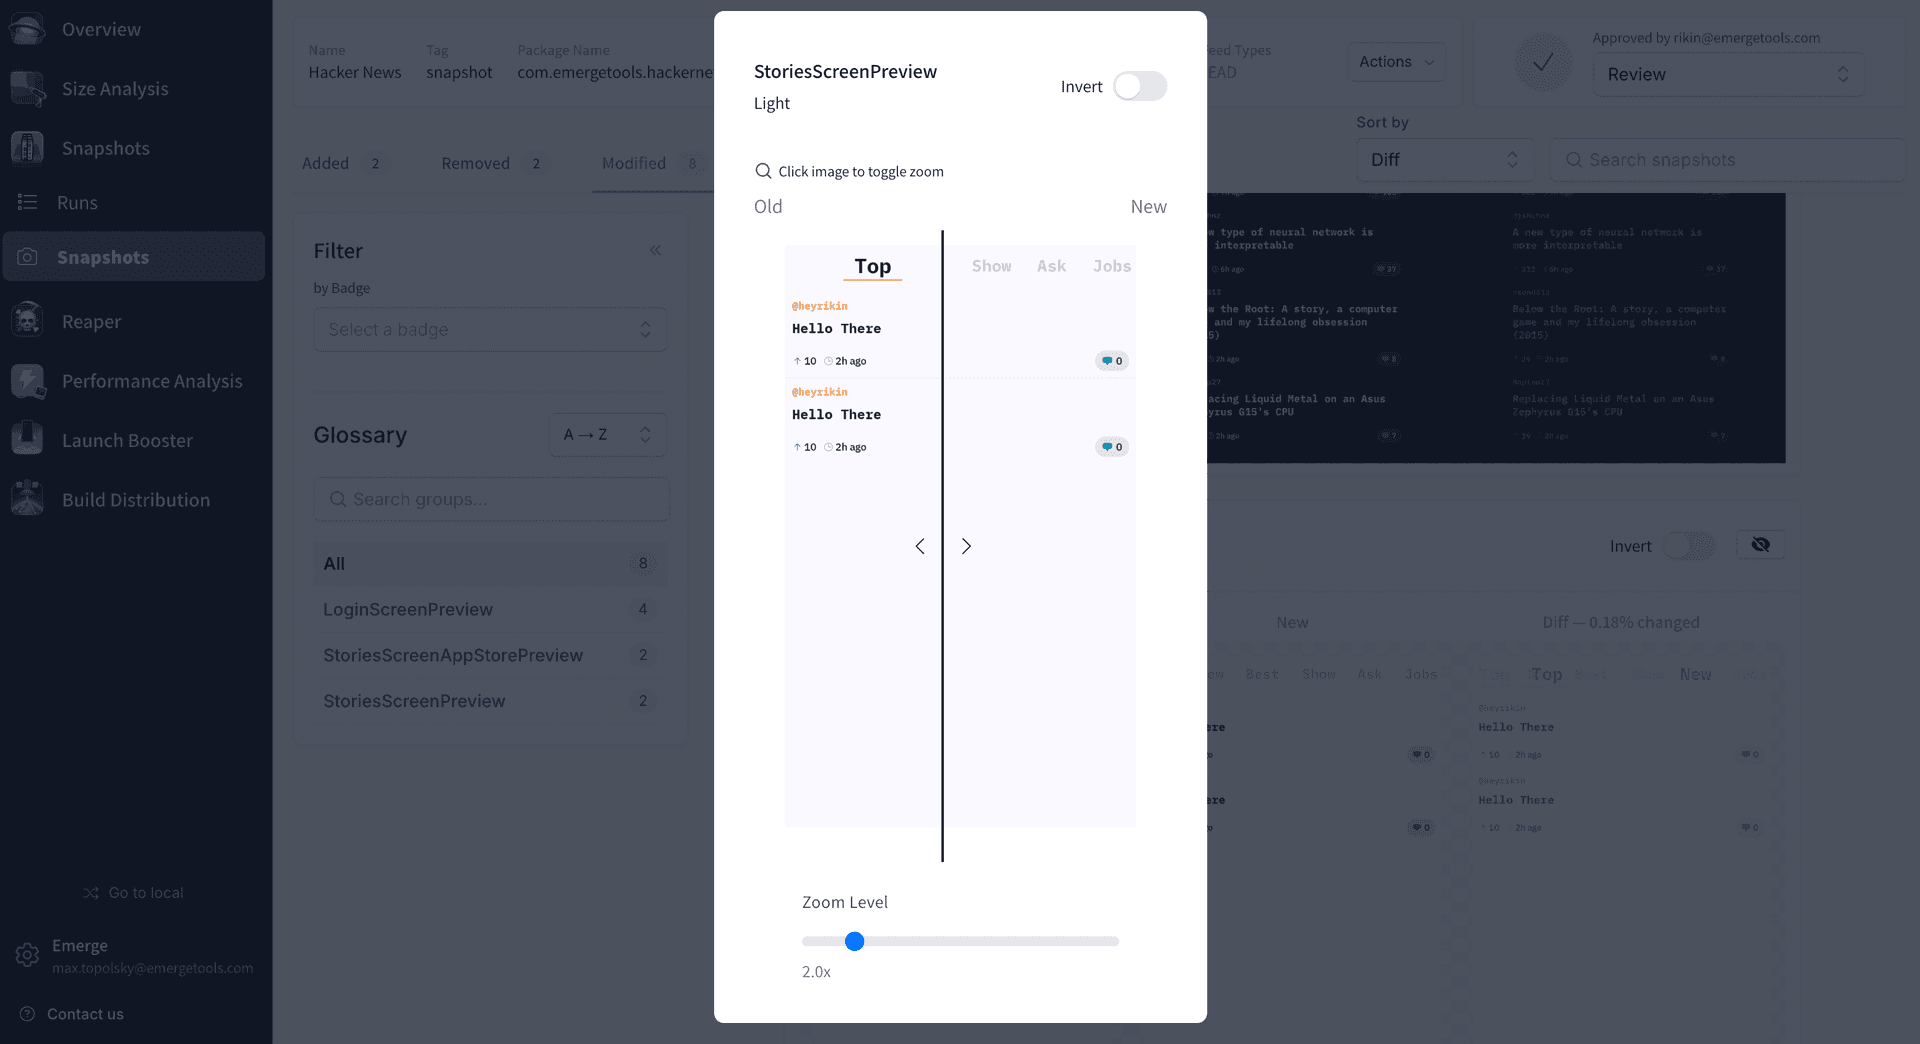
For teams like OpenAI and Handshake, our approach makes for “effortless” snapshot testing. But many teams don’t have robust Preview coverage. Many have invested in libraries like swift-snapshot-testing or Paparazzi.
In these cases, Snapshots fell short. Which is why we’re excited to announce Bring Your Own (BYO) Snapshots. If you already have snapshot tests in place, you can now upload any images to Emerge’s Snapshots and take advantage of our infrastructure and UI (bye-bye LFS 👋).
Setting up BYO Snapshots
Images are uploaded via the Emerge CLI. All you need to do is:
- Install the CLI
- Get an Emerge API key
- Upload your images + git metadata
We'll walk through uploading snapshots for specific libraries below, but first, its helpful to explain how Emerge stores and diffs images.
Using git metadata for diffingAside from turning Previews → Tests, part of what makes Emerge's Snapshots unique is that diffs are driven by shas. When you upload Snapshots (whether generated by Emerge or another source), you're also uploading git metadata like the sha and base_sha.
Traditionally, snapshot testing requires you to maintain and track a "golden" set of images. This can often be a manual, time-consuming process that every developer must know. Instead of tracking a golden set, Emerge uses the base commit for every PR as the golden. The images corresponding to a commit sha are automatically compared against images corresponding to the base commit. When snapshot changes are approved and the PR is merged, that branch becomes the new golden.
This is a deterministic, code-first approach used throughout Emerge products and allows your snapshot tests to behave similarly to the rest of your testing suite. With that out of the way, let's get to uploading.
Upload swift-snapshot-testing, Roborazzi, and Paparazzi
Emerge's CLI has first-party support for swift-snapshot-testing, Roborazzi, and Paparazzi through the --client-library flag. Once you have the CLI and API key, it's as simple as running
1emerge upload snapshots \
2  --name "HackerNews Swift-Snapshot-Testing" \
3  --id "com.emerge.hn.Hacker-News.swiftsnapshottesting" \
4  --repo-name "EmergeTools/hackernews" \
5  --project-root . \
6  --client-library swift-snapshot-testing
With emerge upload snapshots, you have your existing snapshot tests in Emerge's Snapshots. You can upload for a specific library along with uploading a mobile build to get snapshots from your existing tests and Emerge's Preview snapshots.
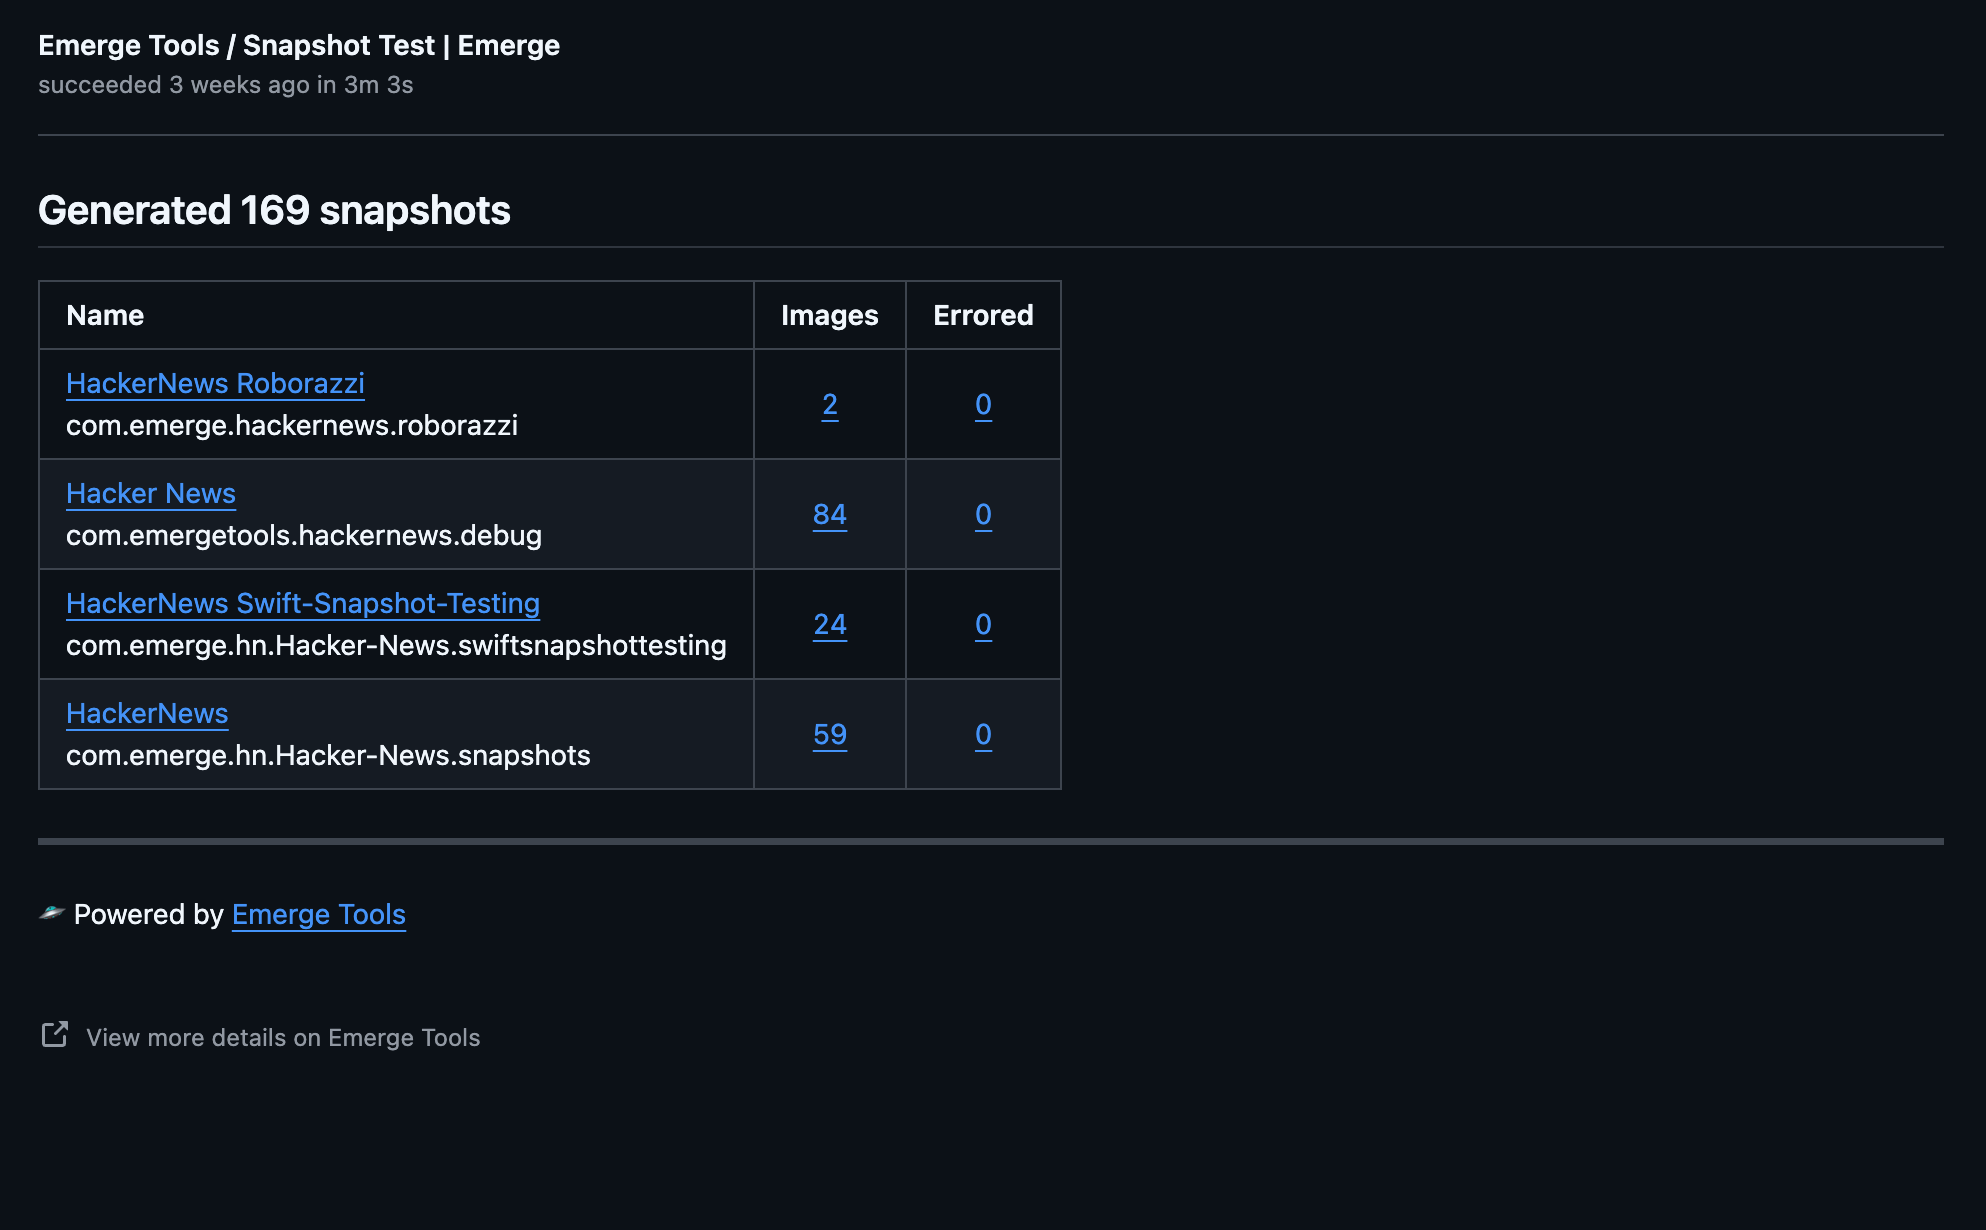
From here, it's easy to upload as part of CI and get status checks. We've set up Roborazzi and swift-snapshot-testing in our open-source HackerNews repo as an example if you'd like to see the full workflow.
You can also check out the docs for setting up each library:
Upload Anything
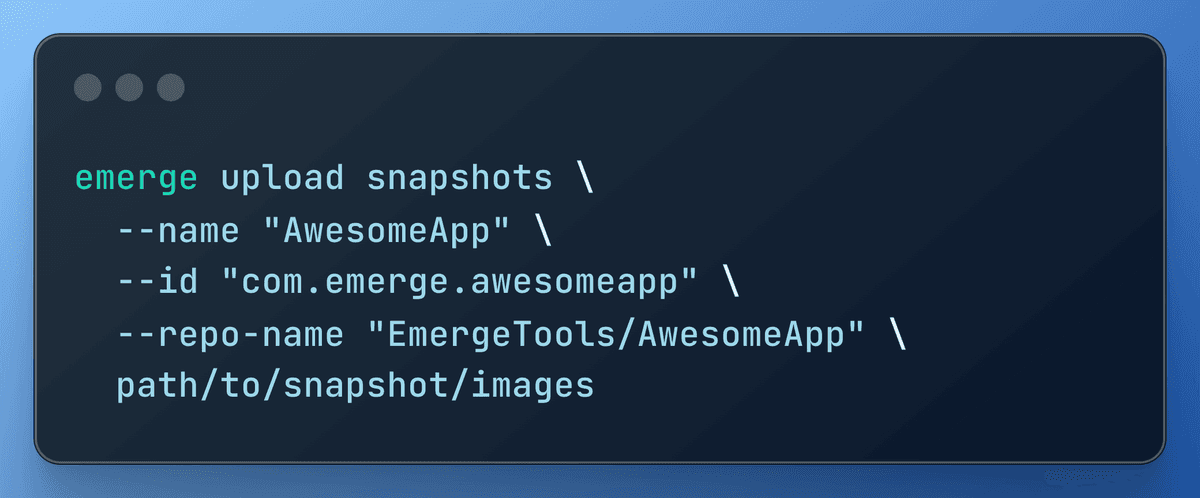
In addition to uploading snapshots from the aforementioned libraries, you can upload any arbitrary directory of images. All you need to do is provide the path to the directory and you can upload anything, even web-based images, which we've started using to dogfood Emerge's Snapshots (in addition to using Snapshots on HackerNews).
1emerge upload snapshots \
2  --name "AwesomeApp" \
3  --id "com.emerge.awesomeapp" \
4  --repo-name "EmergeTools/AwesomeApp" \
5  path/to/snapshot/images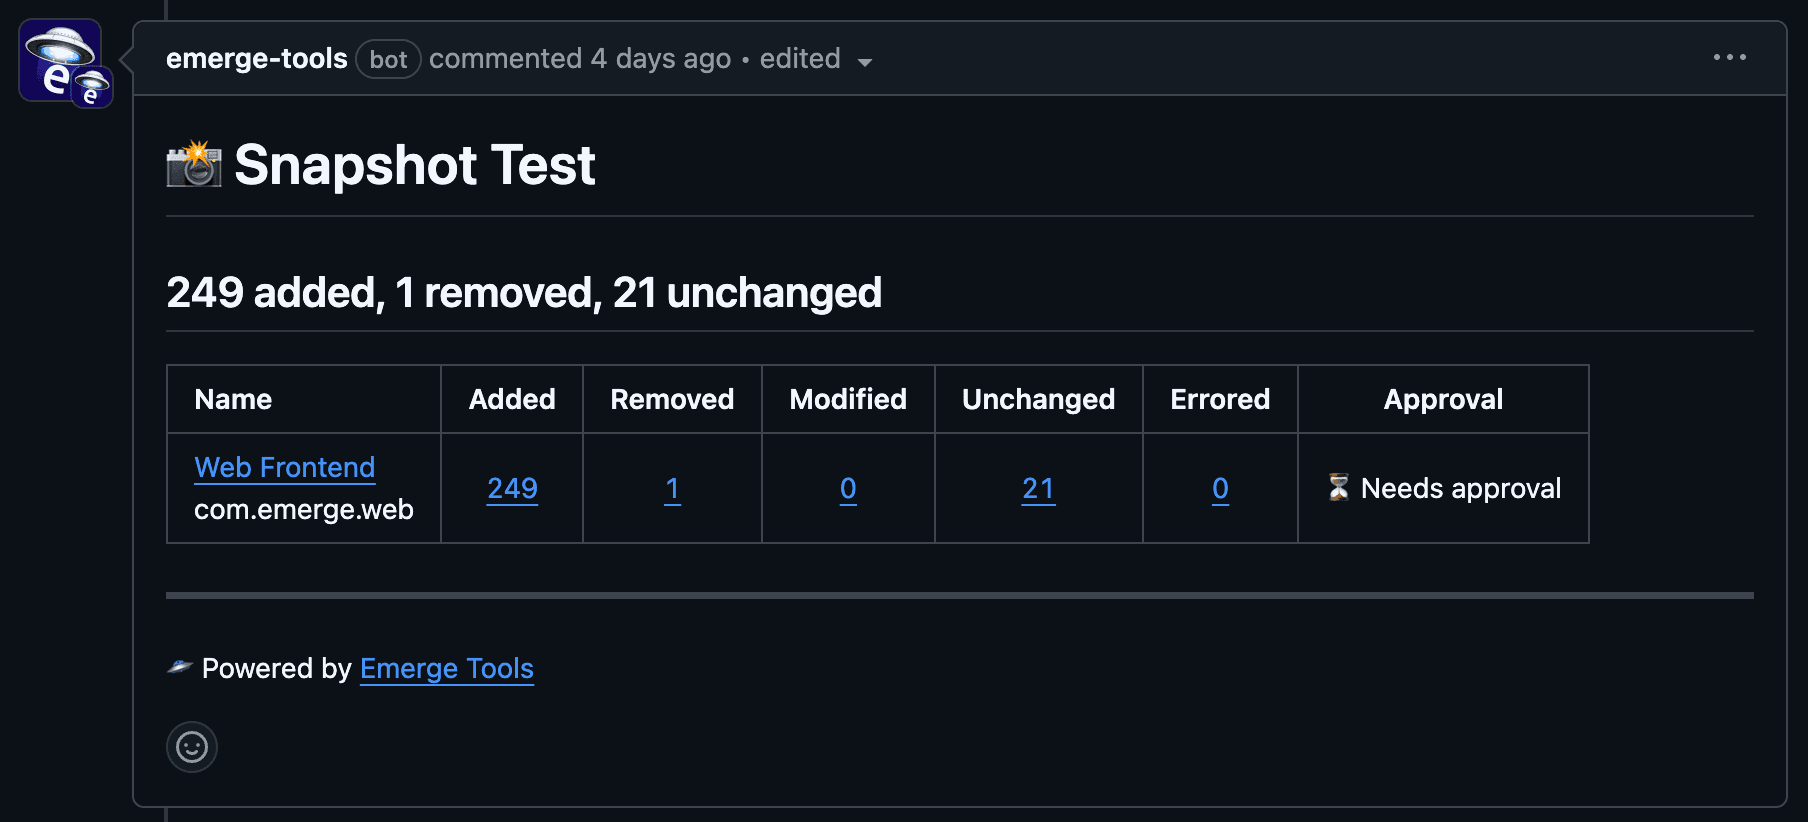
We've had some fun uploading popular sites to Emerge daily. We'll see how they change throughout 2025 👀
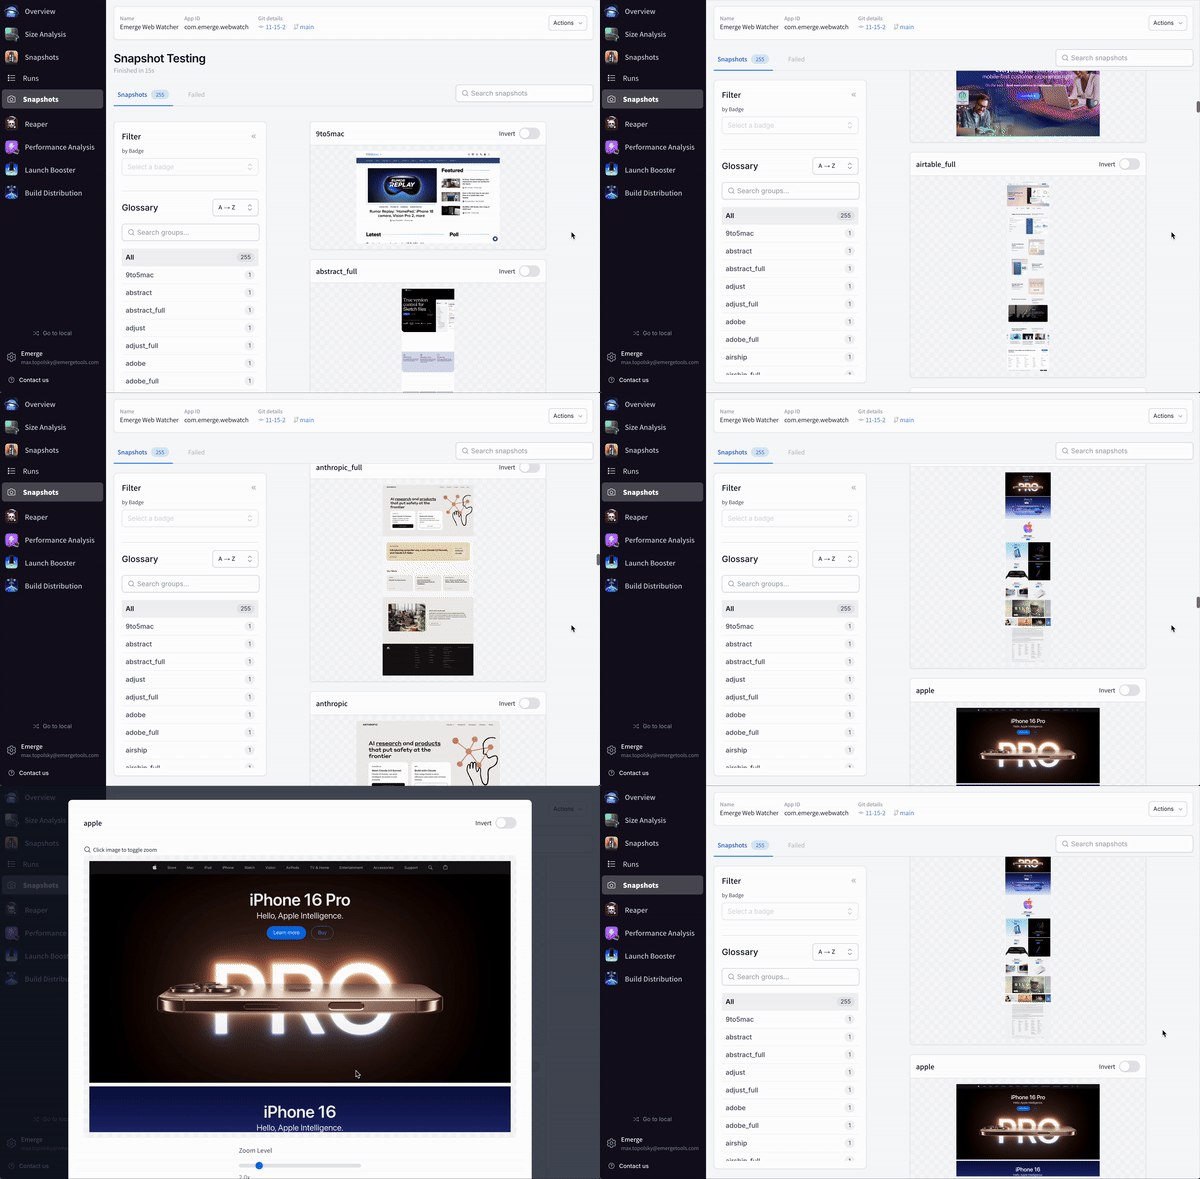
We're very excited to get BYO out and make Snapshots work for even more teams. Get in touch if you have any questions on using BYO Snapshots 🍻
Helpful Links/Docs for BYO:
